
RV Step Repair.
The electric steps on a motor home see a lot of use and breakdowns are common. This is a easy to moderate repair job that anyone with patience can accomplish. We’ve seen multiple stair failures for a variety of reasons. The first step is to diagnose the problem.
Dirt or obstructions:
If the steps will not extend or retract check to see if the steps are dirty. Clean all the surfaces, check the joints for rocks, obstacles or damage.
Lack of lubrication:
After cleaning, lubricate the all the sliding surfaces according to manufactures instructions. Use a lubricant that will not stay wet or attract more dirt and grime. (KwikLube Spray Grease or WD40 White Lithium Spray Grease).
Loose connections:
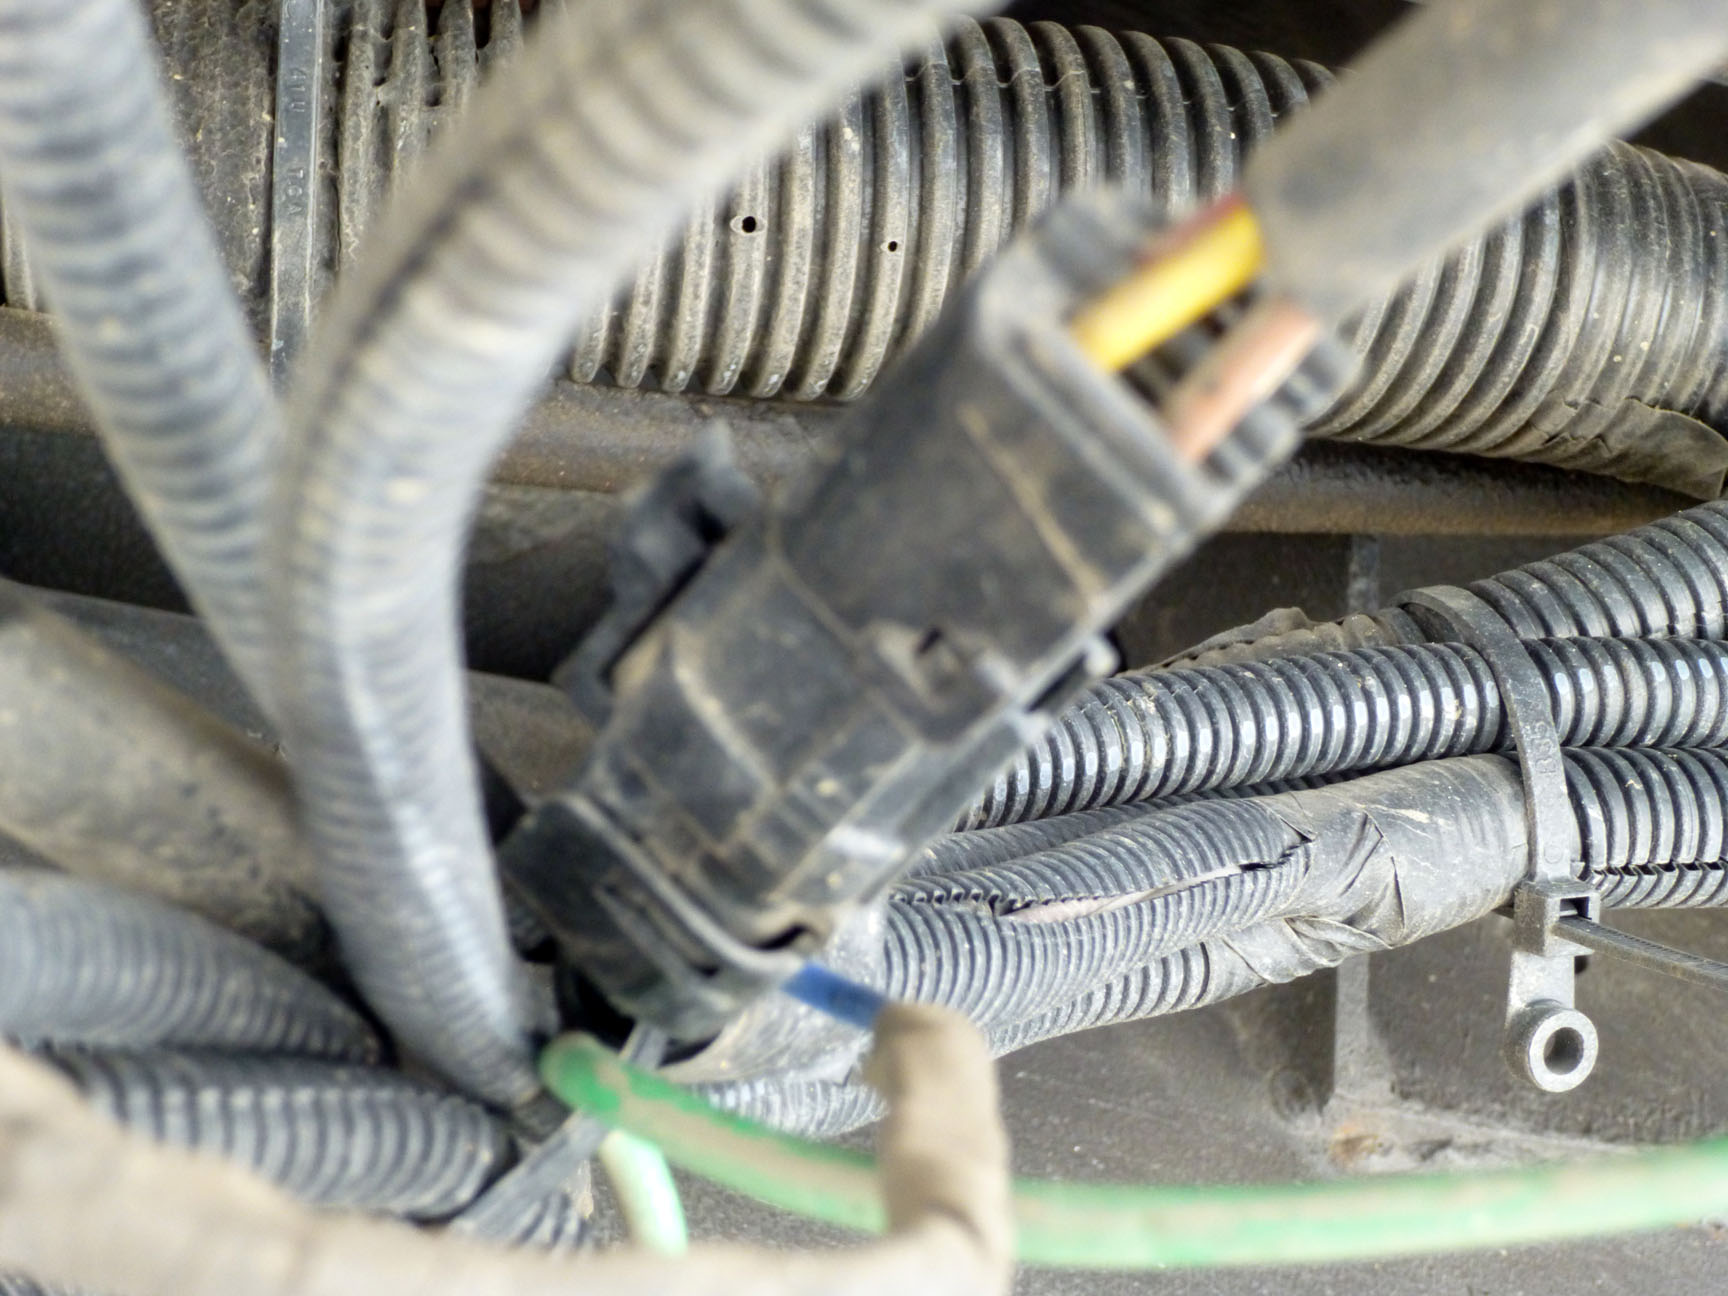
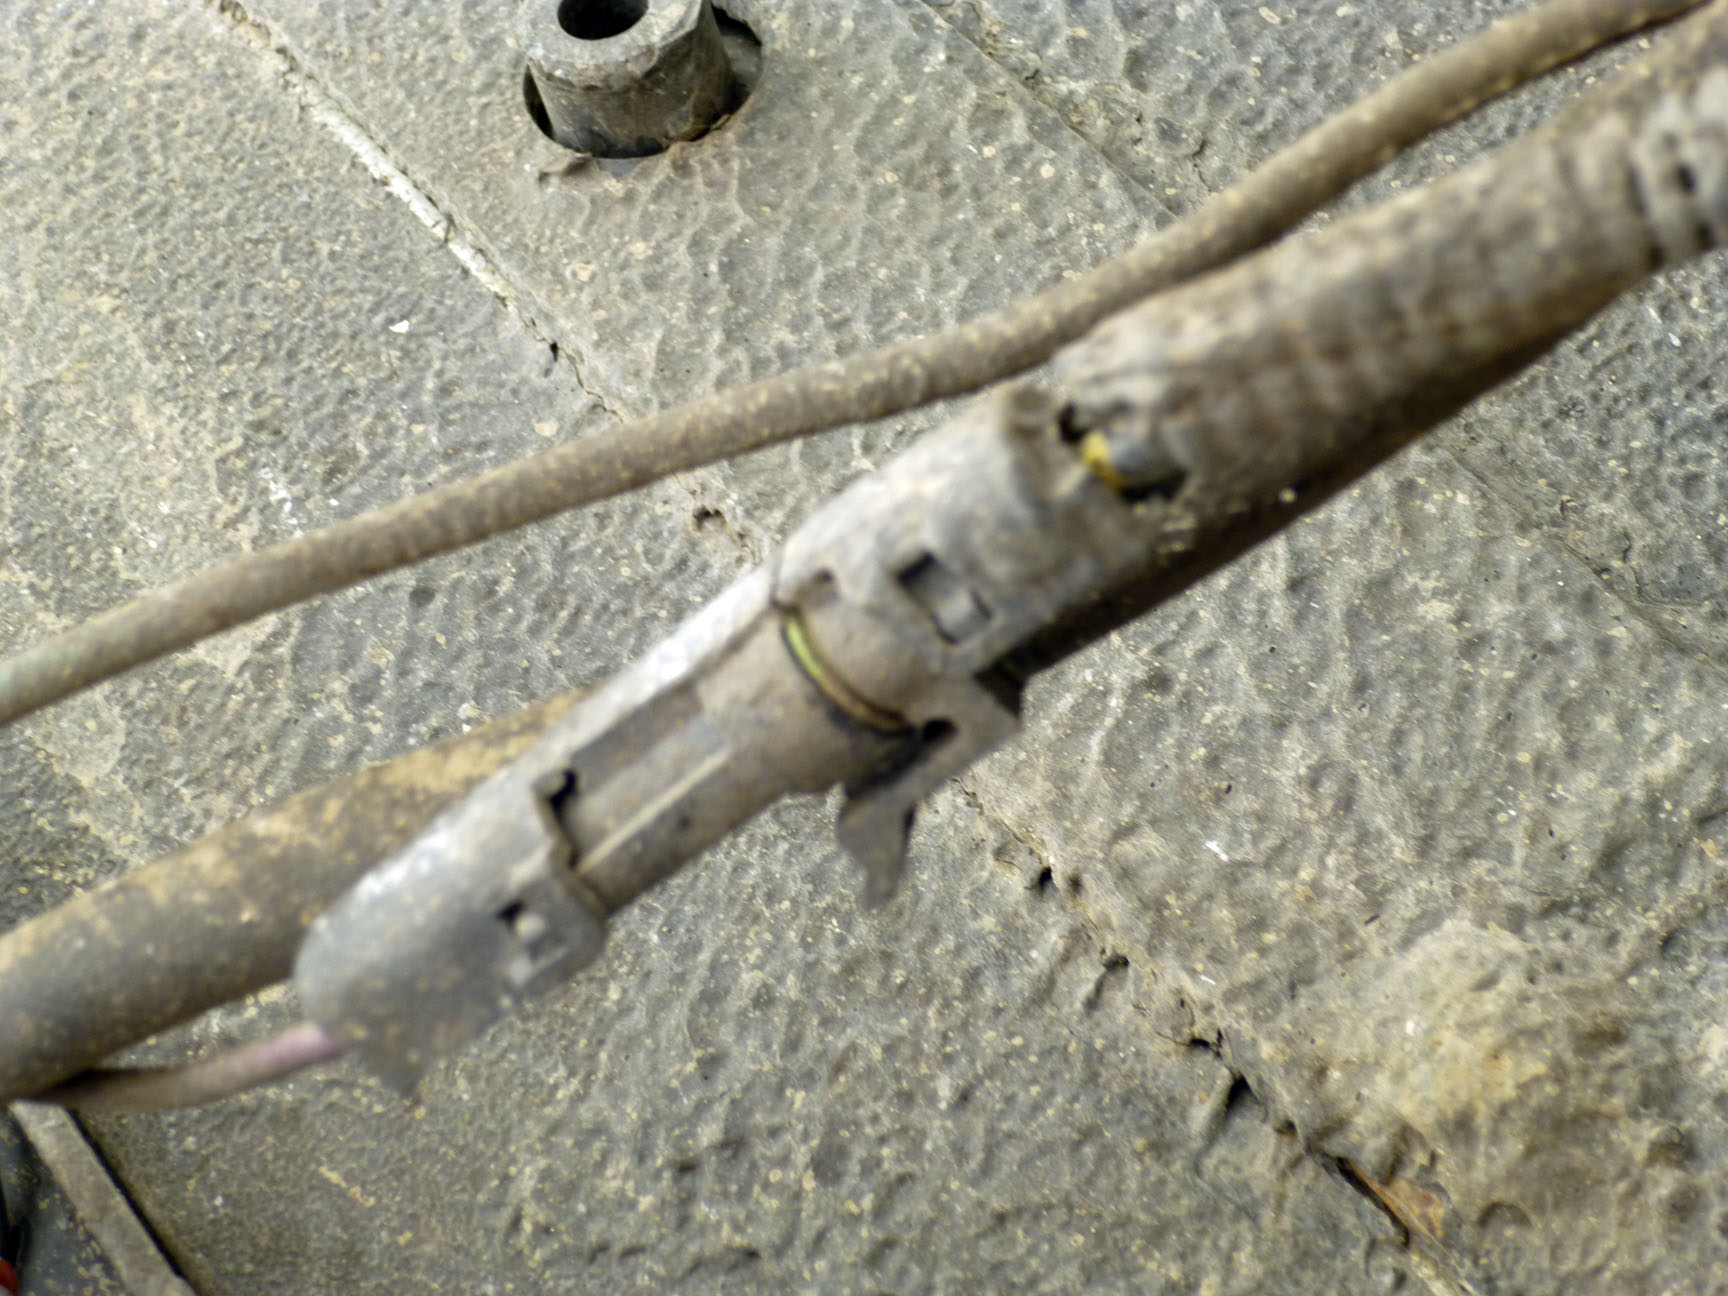
Next check the electrical connectors for a tight fit. They can work loose from vibration. We had a problem with the connector getting moisture inside I simple wrapped the connector with electrical tape until I could cover it with shrink tubing.
Door sensor is dirty, loose, or damaged:
Check alignment of sensor on the door and door frame. Clean as required to remove all the dirt and grime. Check for electrical power to stairs when stairs are activated. We have a light, so we knew power was getting to the stairs.
Motor or gearbox broken:
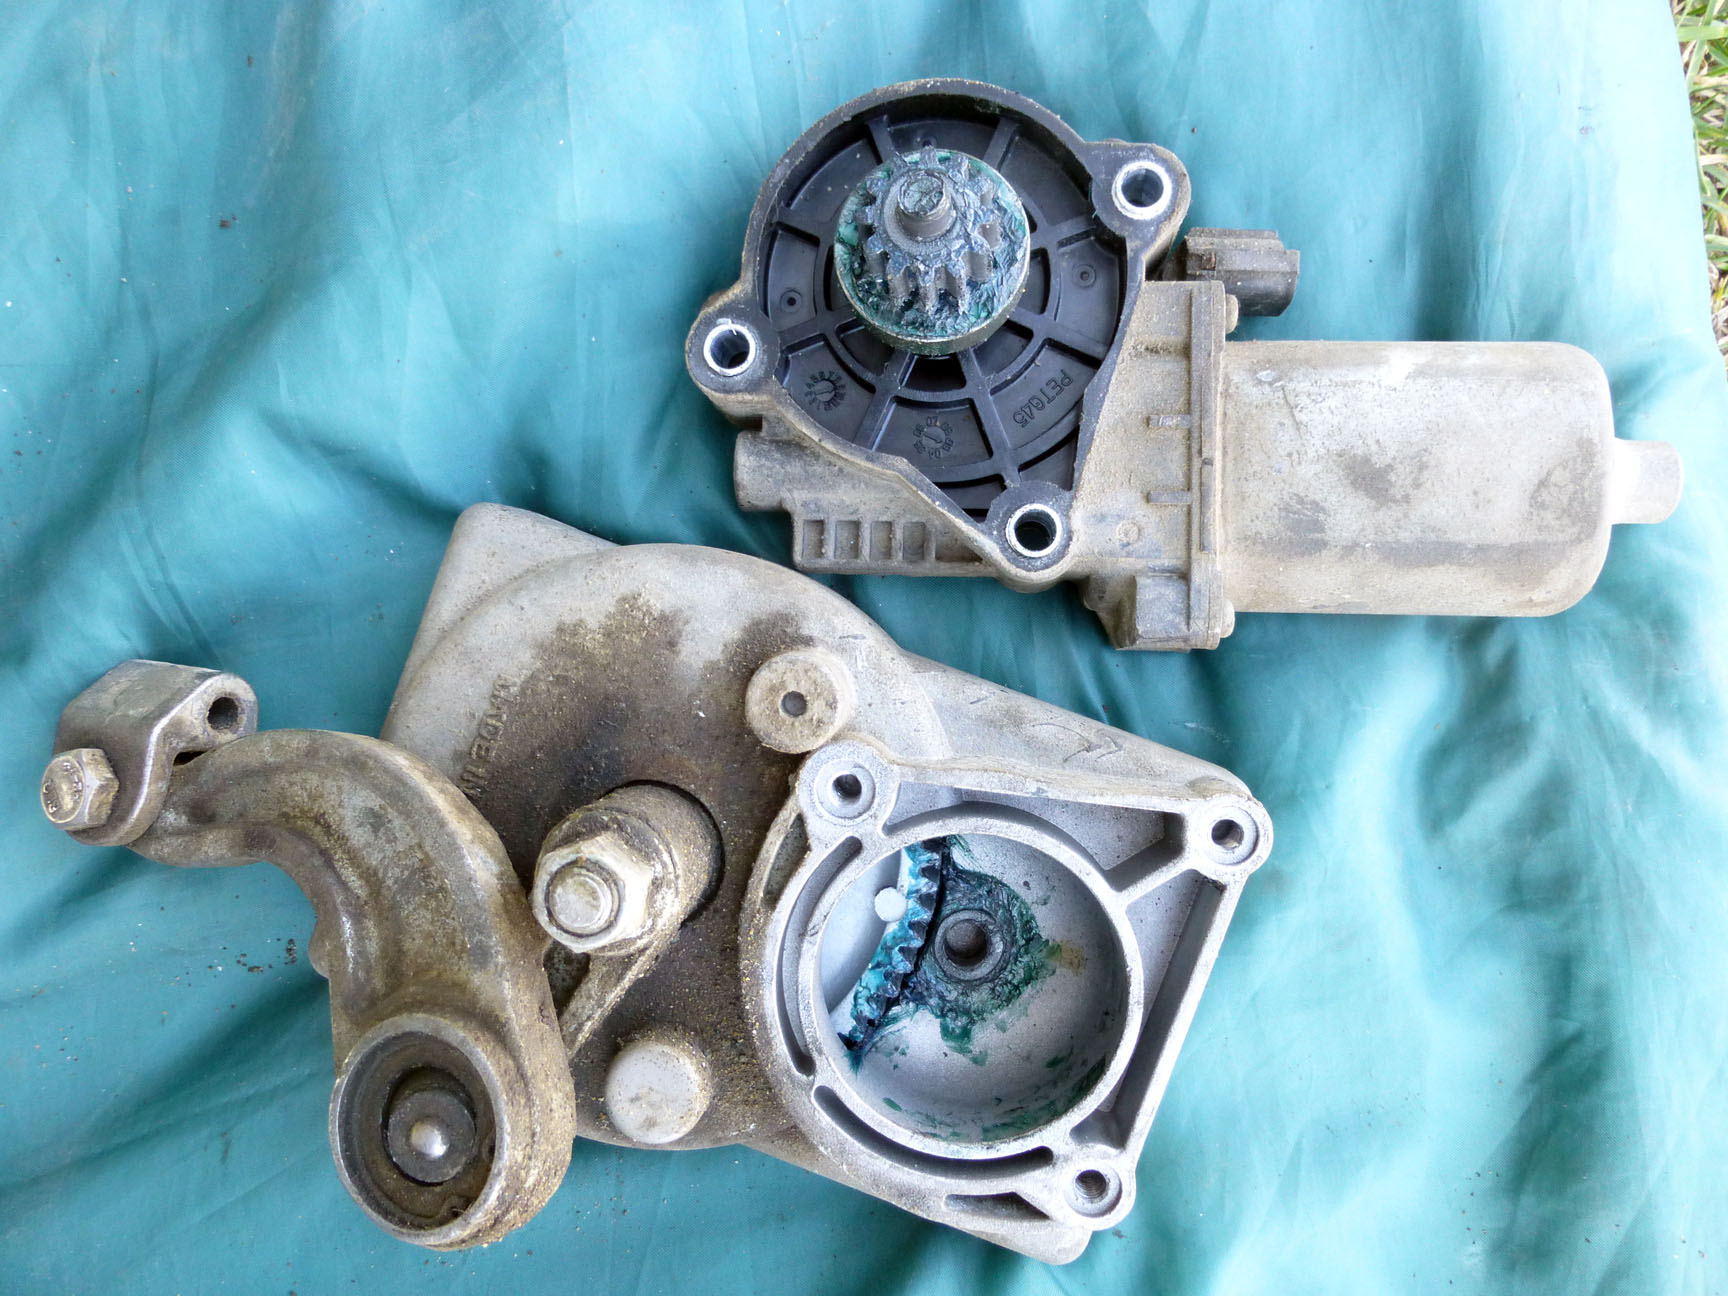
If the motor is “running” and the steps re not moving, the gear box is probably broken. If the motor does not run, then it might be burnt out.
Getting the correct parts. The stairs should have a bar code sticker that might tell you what make/model the stairs are. The sticker on mine was rubbed off and I could not read the numbers. I e-mailed the manufacture and asked what stairs were installed on the year, make, and model of my motor home. Their answer was to look at the bar code sticker on the stairs! To make a long story short, I simply matched my gear box and motor to pictures on line. Amazon had them and at the best price.
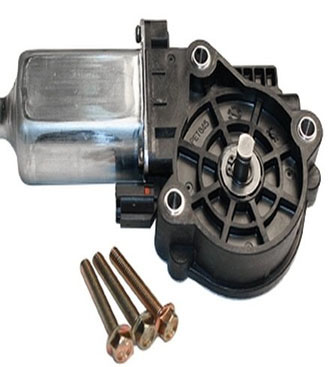
Below are the instructions needed to replace the motor and gear box assembly. They are two separate assemblies and you must purchased both. I replaced both to ensure the stairs would work and I would not have to do it again.
1 – Unhook the electrical connectors. Their are three, be sure to disconnect all of them so the stairs do not move unexpectedly.
2 – Remove the pivot pin that holds the actuator arm to the frame. Mine had a cotter pin and slid out easily. BEWARE – the stairs will drop to the extended position. Make sure your hands and arms are out of the way.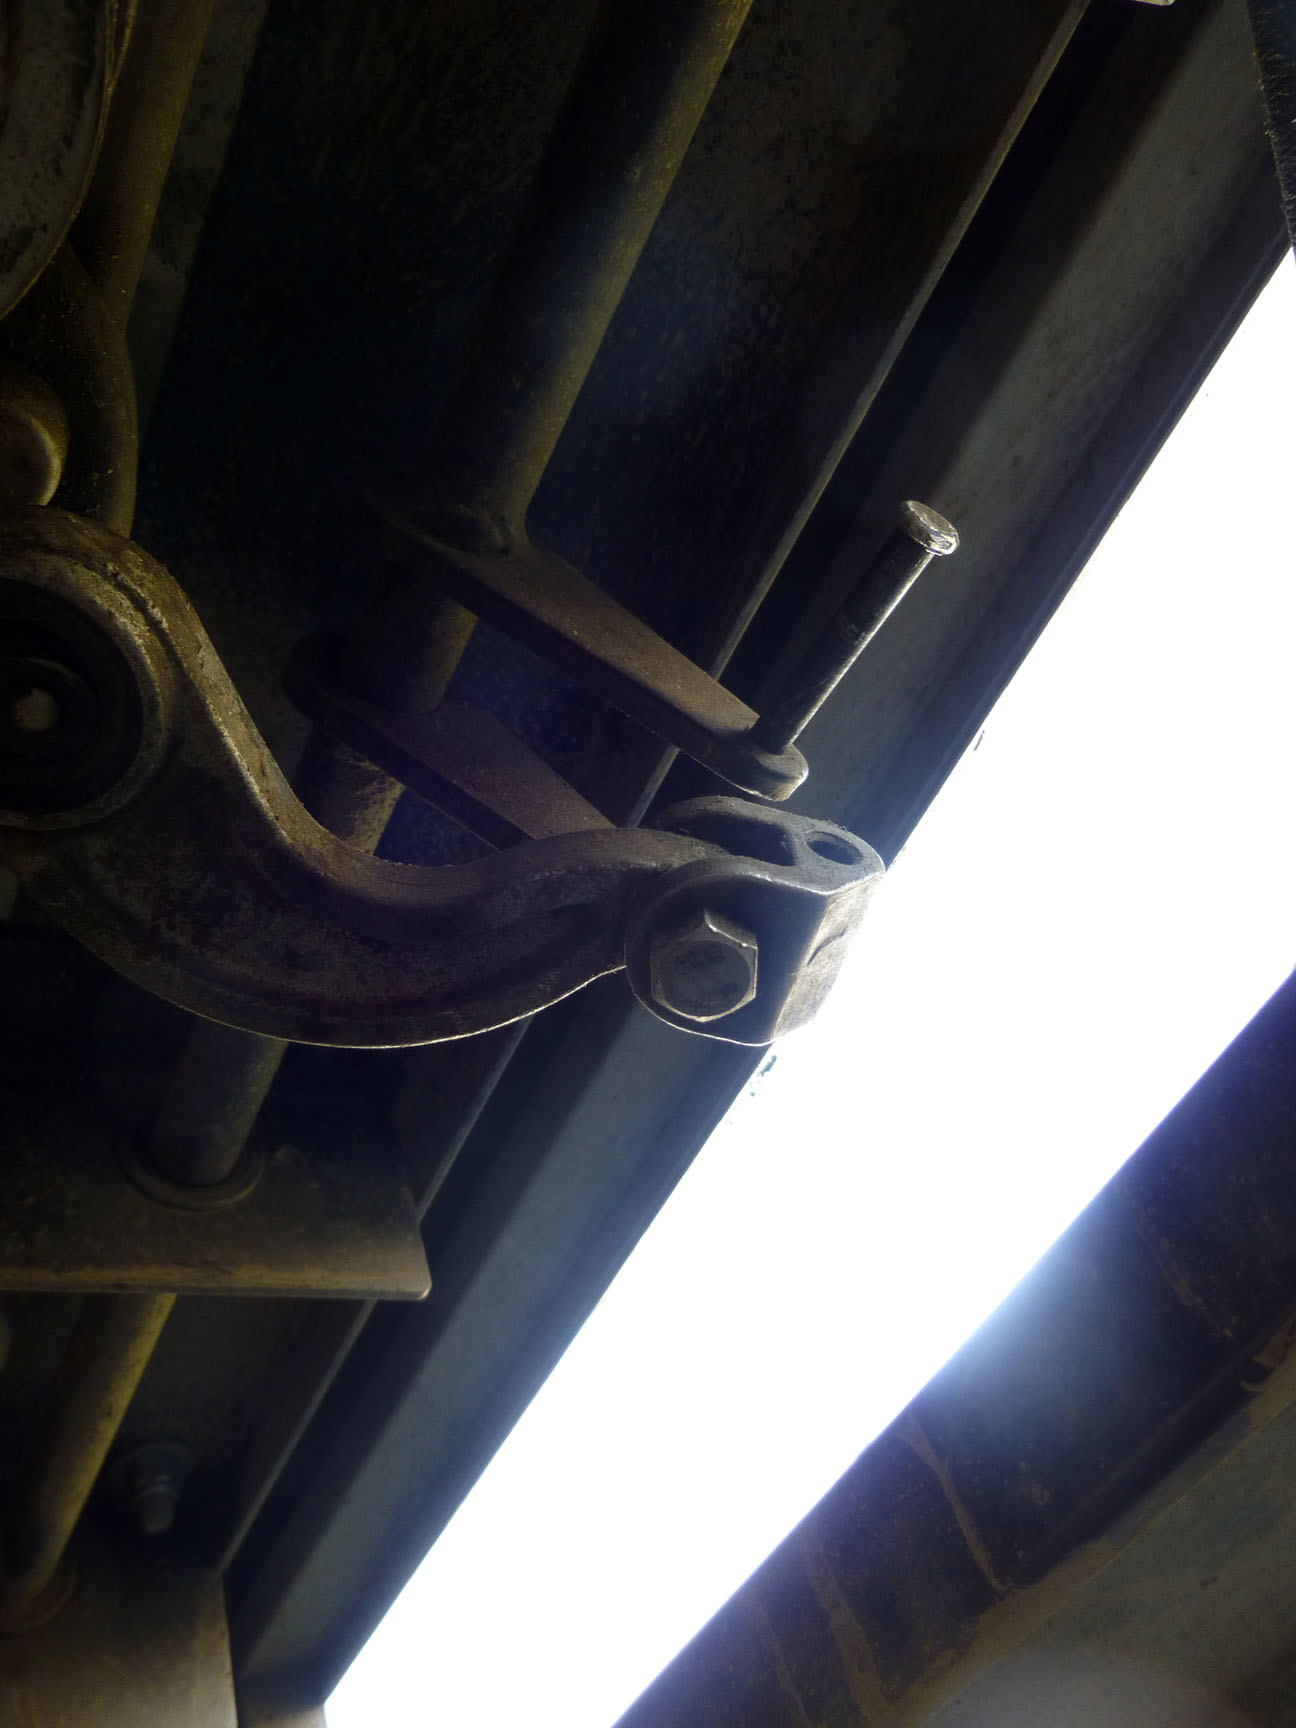
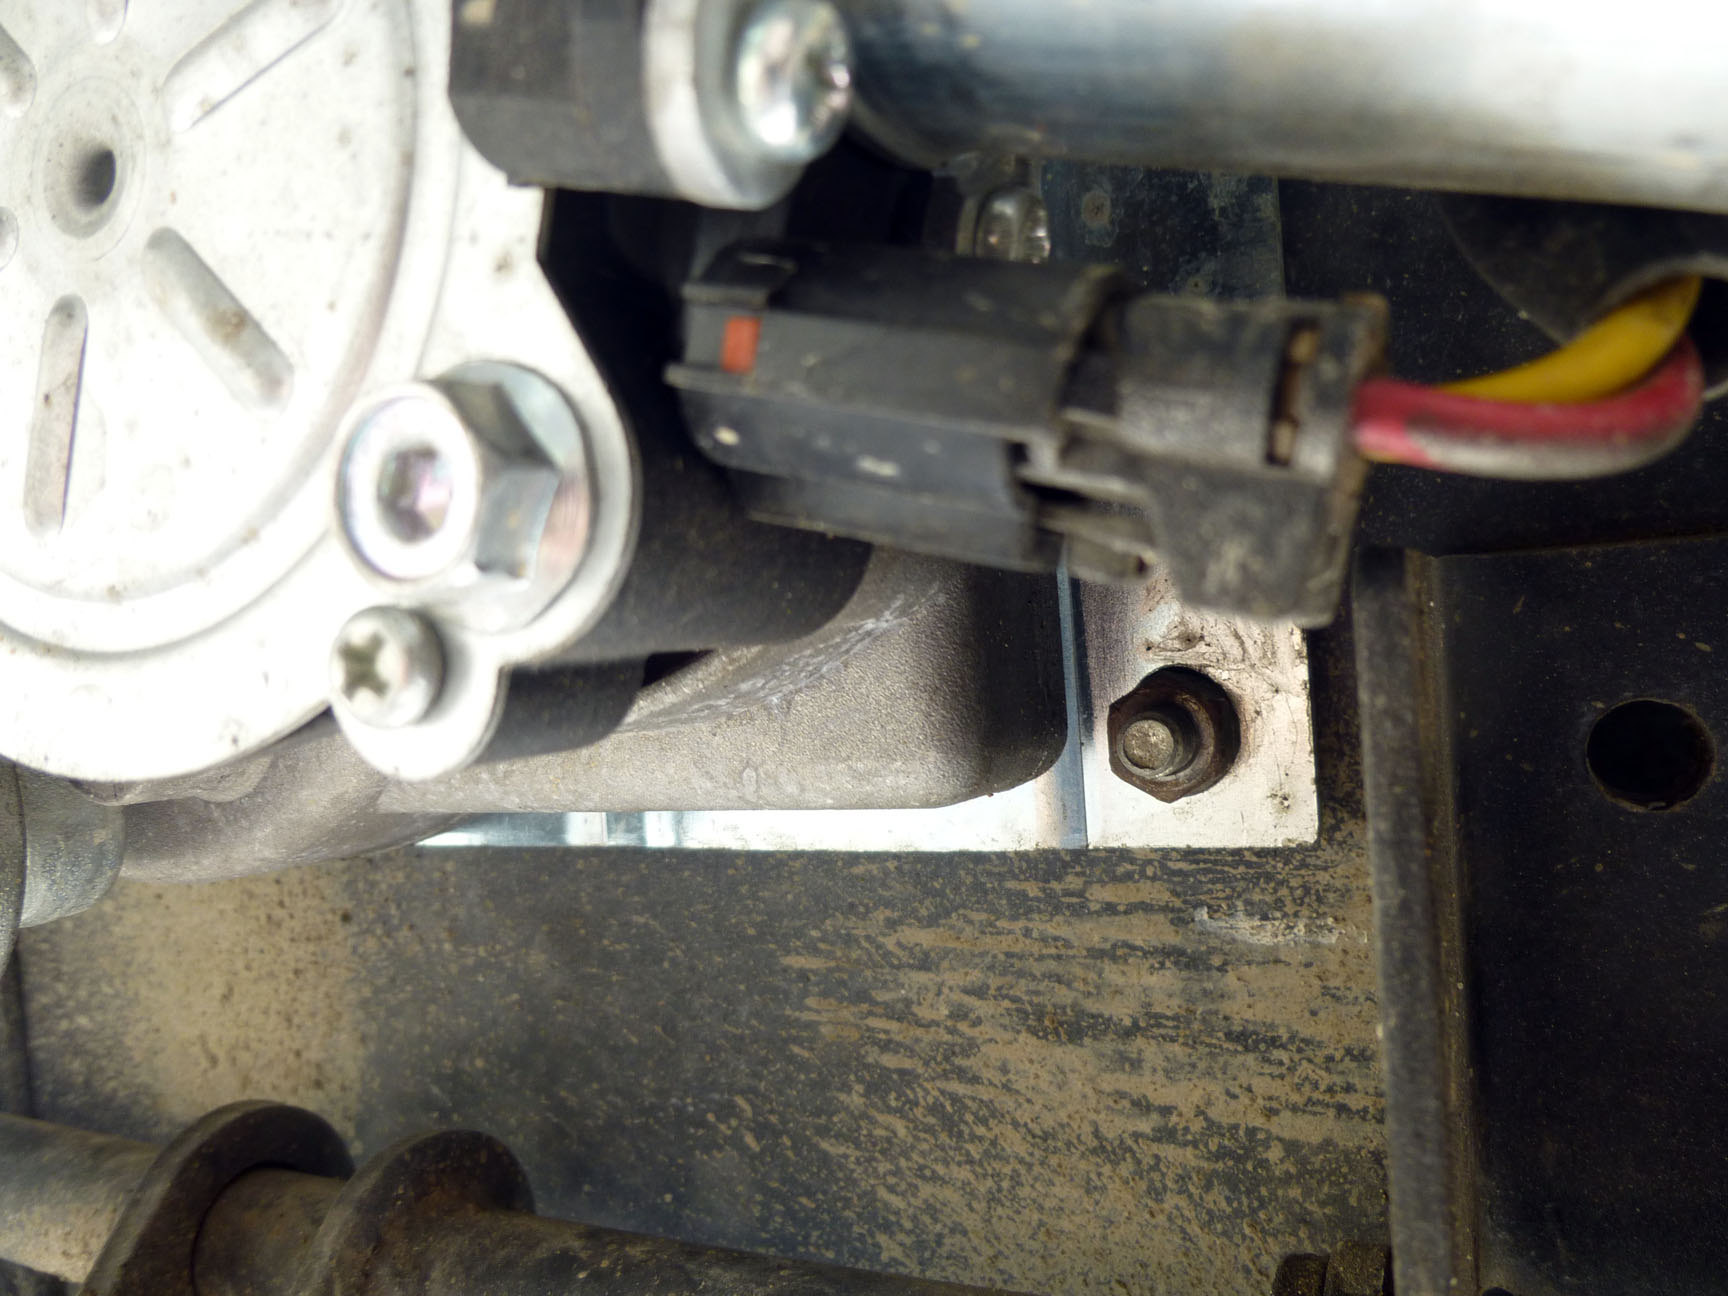
3 – I had to remove the motor from the gear box first, because the motor blocked one of the bolts for the mounting plate.. There are three bolts with washers. Use a the appropriate socket to avoid damage to the bolt head.
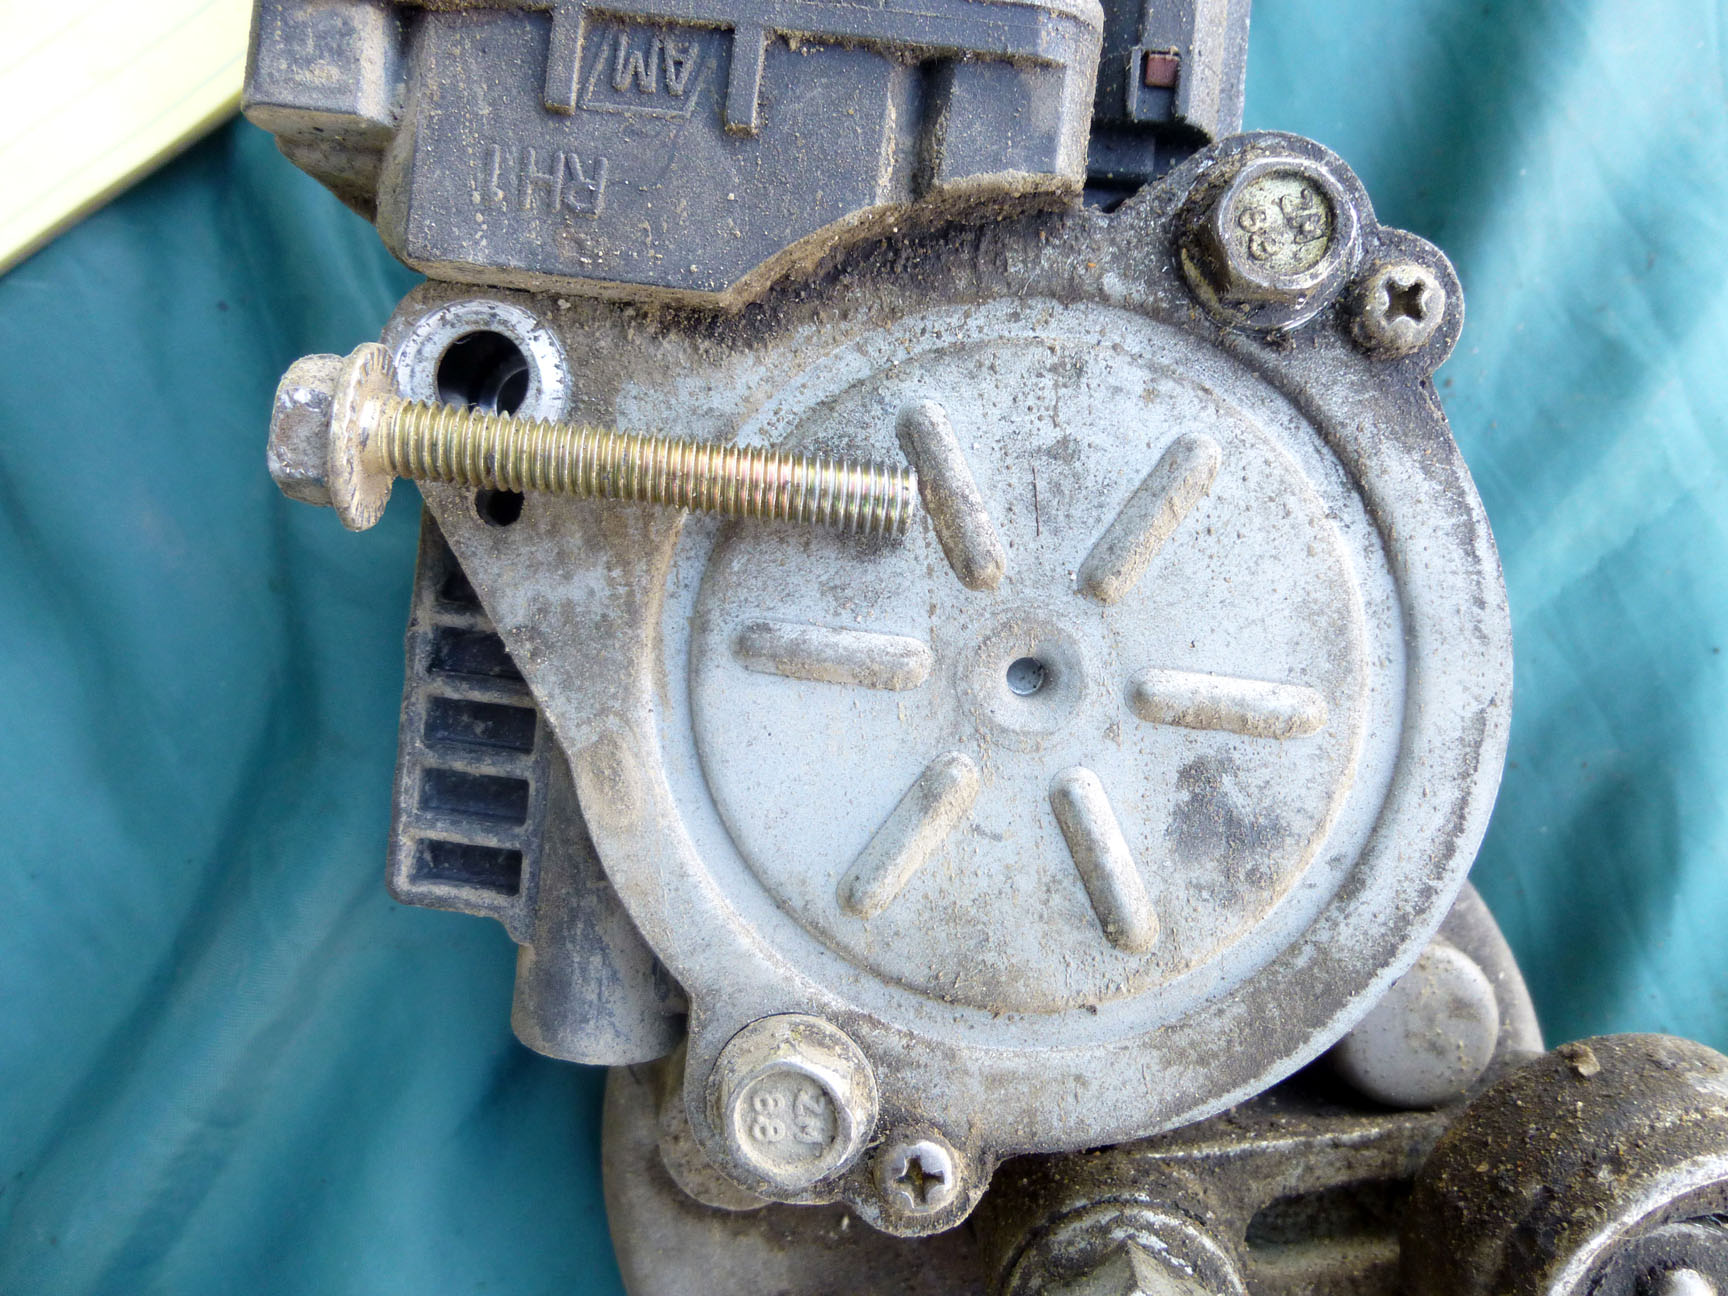
4 – Check for spacers or washers on the gear shaft and note where they are located.
5 – Remove the mounting plate holding the gear box to the frame.
6 – Remove the gear box from the mounting plate.
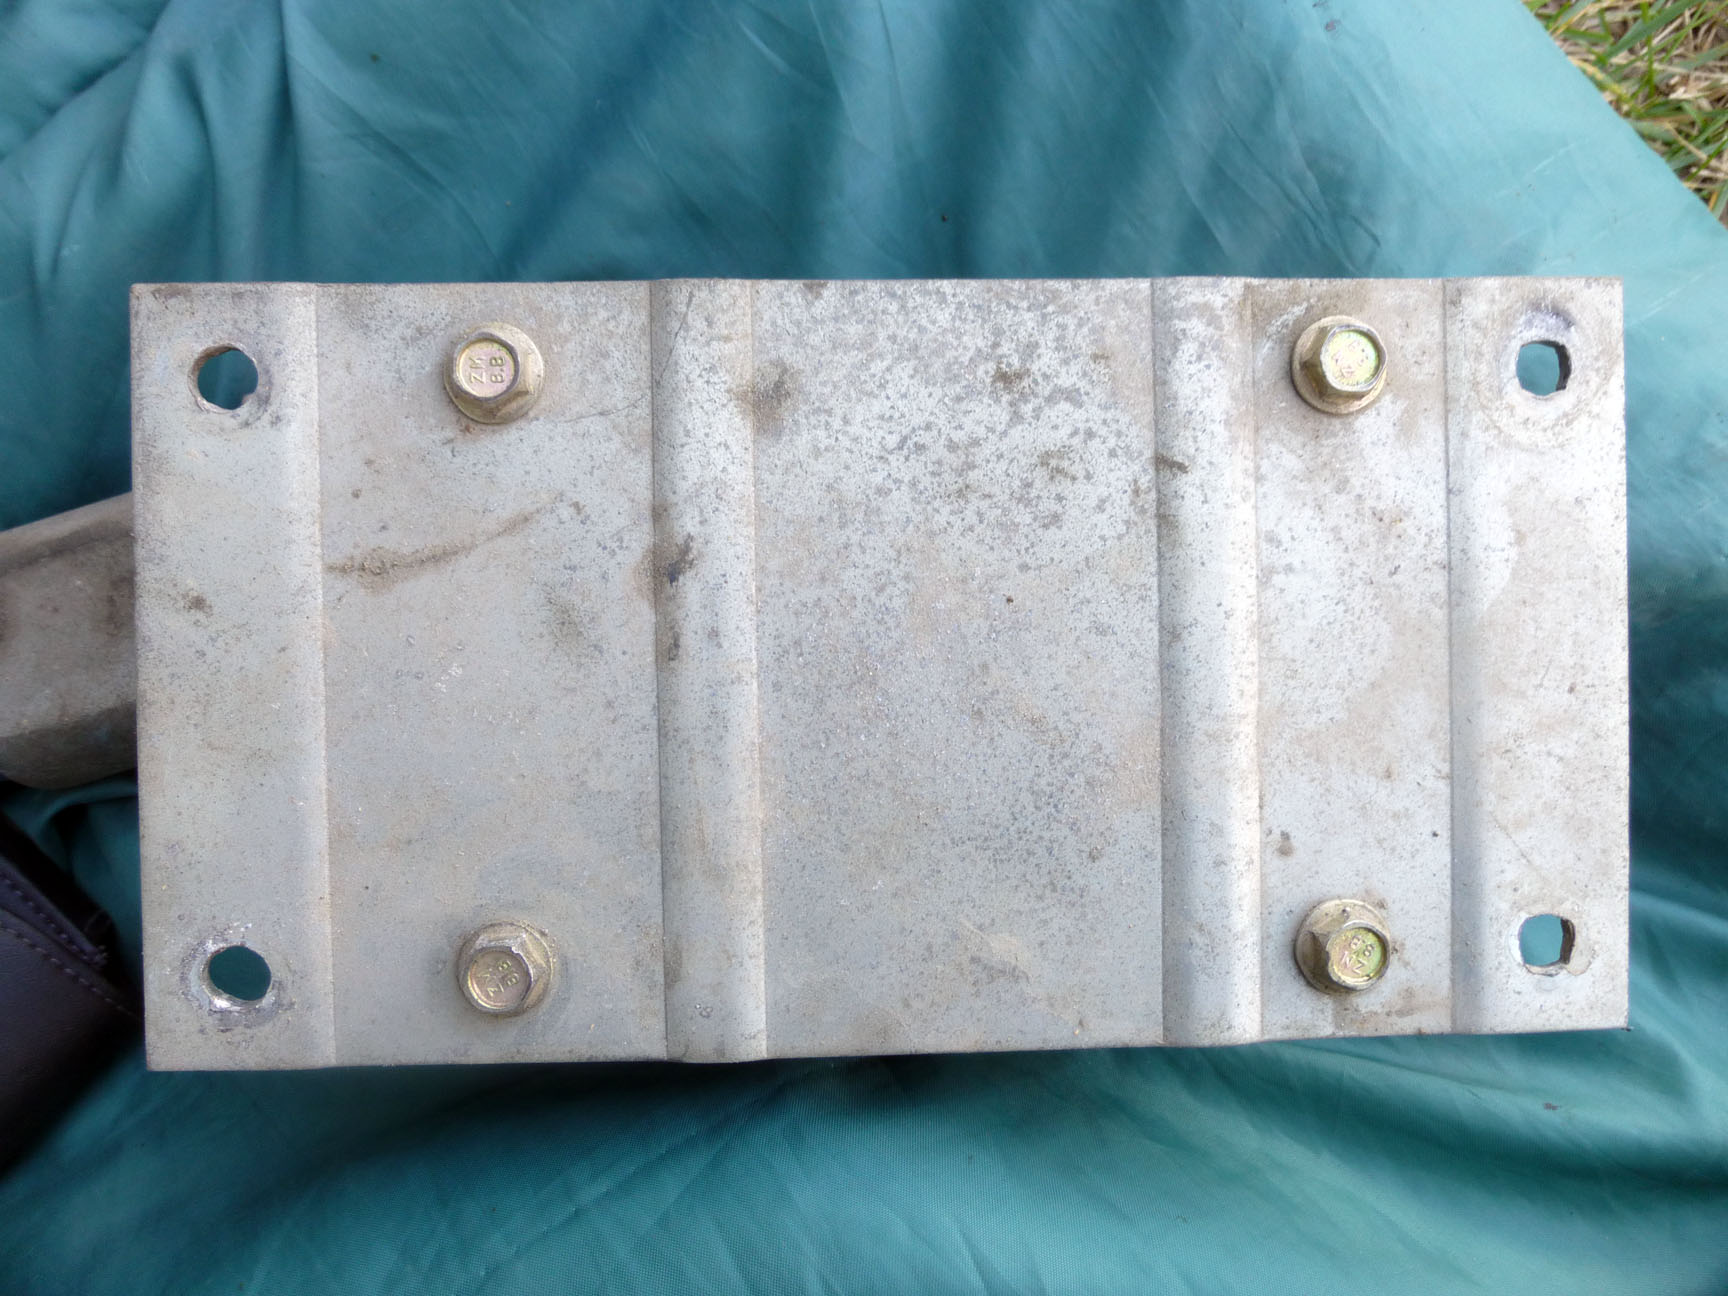
7 – The mounting plate is attached to the frame with free floating carriage bolts that “lock” into place with a square shank below the head. They tend to move around and get pushed out of the hole. It can be a challenge to reinstall. Be sure not to lose the nuts or lock washers.
8 – Clean all the surfaces before re-assembly.
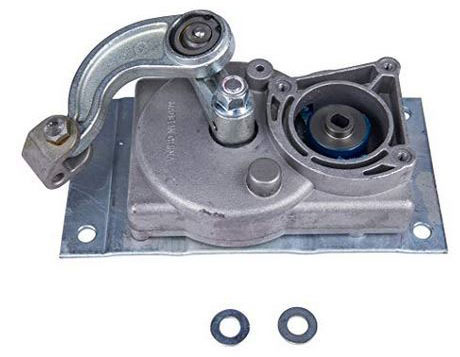
9 – Dry fit the motor and gear box. The gear box comes with two washer/spacers that can be used. Refer to from step 4 for placement In reality, they can only go in one location.
10 – Attach the gear box to the mounting plate.
11 – Attach the assembly to the frame. Take care to not push the free floating bolts out of the holes. Install the lock washers and nuts onto the bolts and secure in place.
12 – Install the motor on to the gear box.
13 – Locate the gear box arm as close to the pivot pin hole as possible. Re-install the pivot pin and secure with cotter in in place.
14 – Reattach all the electrical connections. BEWARE of unexpected stair movement.
15 – Check stairs for proper extension and retraction.
There you have it. Stairs that work and another successful repair job. The saving are substantial because we bought the parts wholesale, without dealer markup, and we did not have to pay exorbitant labor charges.
Note: This process is for a Fleetwood Bounder motor home with Kwikee steps. The repair process should be similar on any RV. You my have to purchase a different replacement motor or gear box to match your RV steps.
Below are the parts used for this repair.