
RV Shower Valve Replacement.
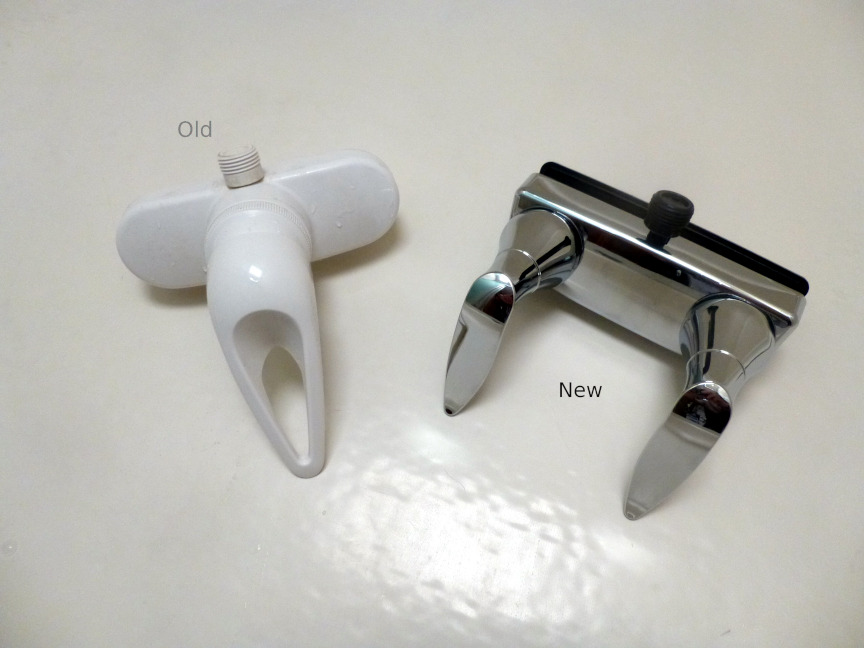
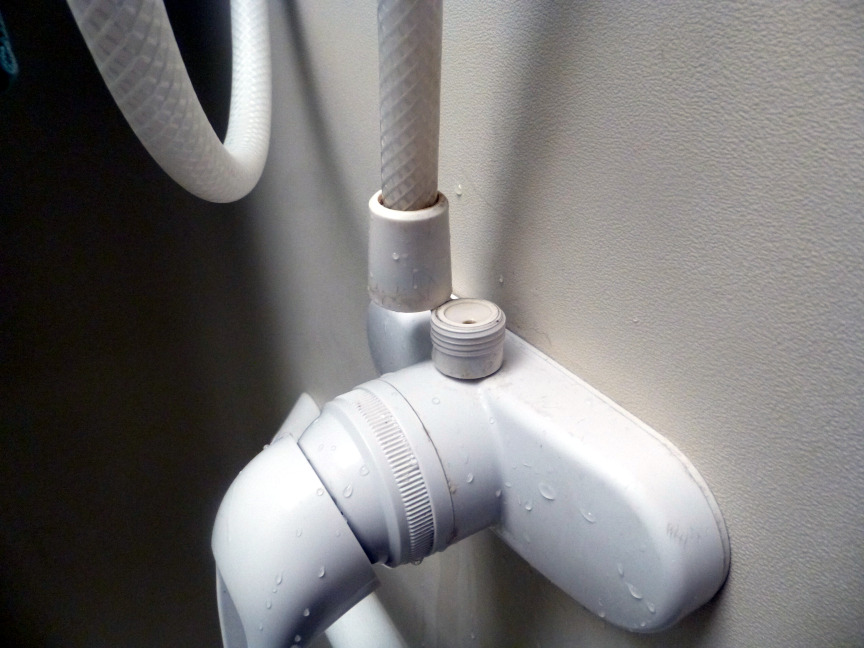
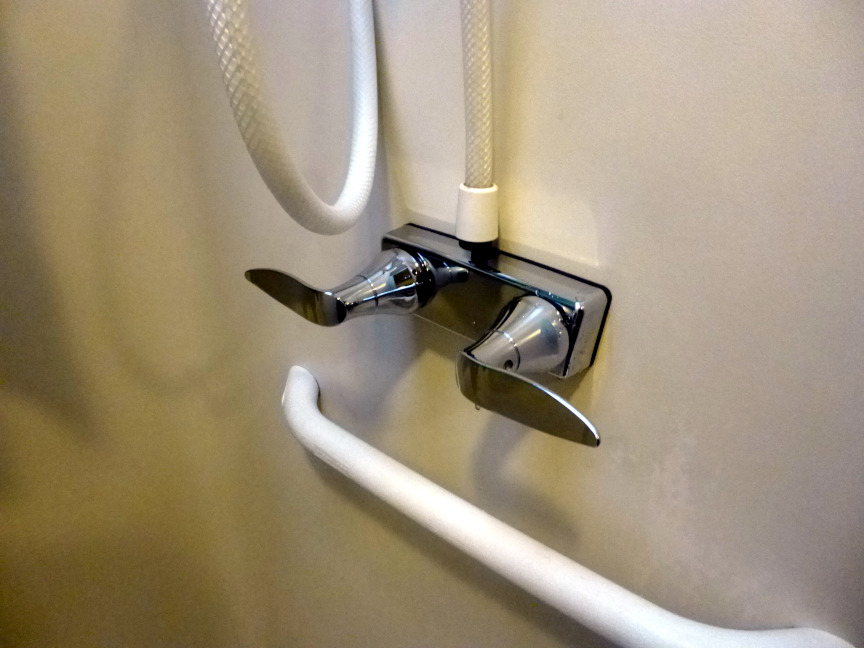
Replacing a leaking or unattractive shower valve is one of the easiest repairs an RV owner can do. It takes only one tool, a phillips screw driver, and less then a 1/2 hour. The first step is to verify the spacing of the water pipes. Most, if not all, will be 4 inches. Next will be to determine where the shower head hose attaches. In this example, it attaches to the top of the valve, with a hand tighten enclosed nut. Now you are ready to go shopping. Amazon has good selection and usually at the best price. There are a multitude of colors, handle designs, and shapes to meet any decorating scheme. You might want to consider replacing the shower head/hose assembly at the same time.
Below are the instructions needed to replace a shower valve.
1 – Turn OFF the water source at the outside water connection or turn OFF the internal water pump. Open the bathroom sink faucet and the shower valve to drain the water lines
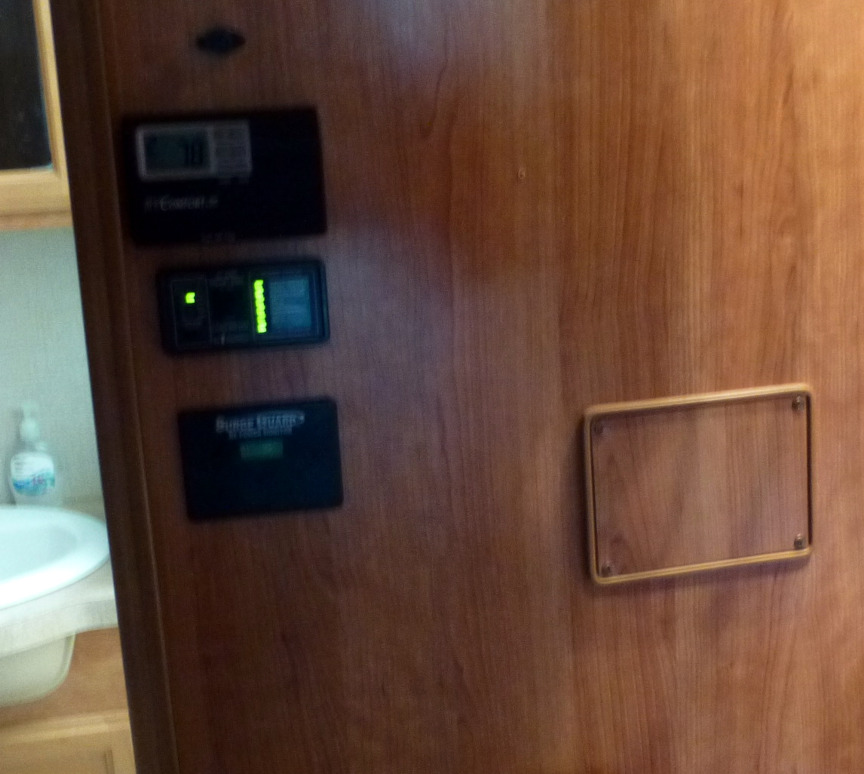
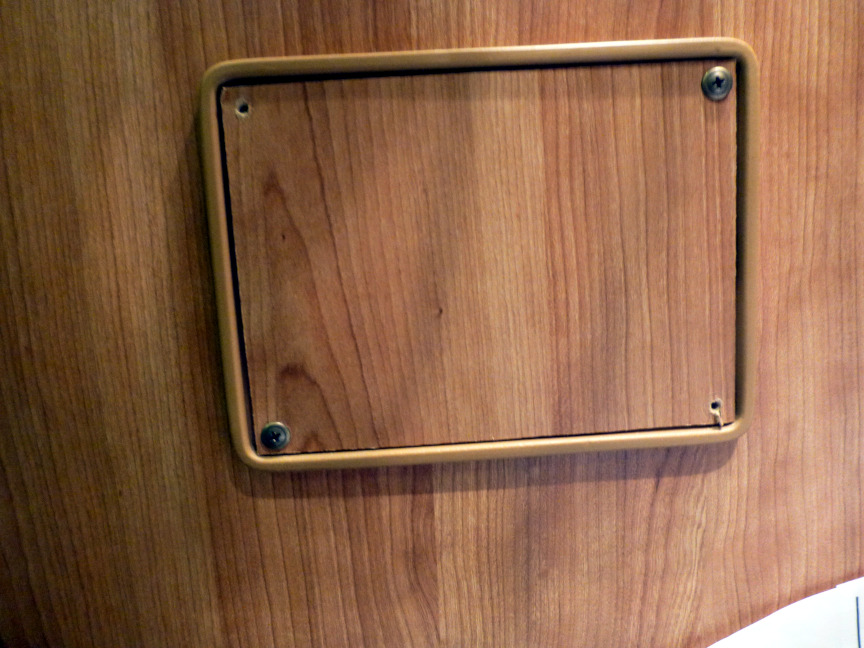
2 – .Locate the access panel for the water lines. It will be at the same level as the shower valve, on the back side of the shower enclosure wall . Typically, four phillips head screws will hold the access panel in place. Remove the screws and panel.
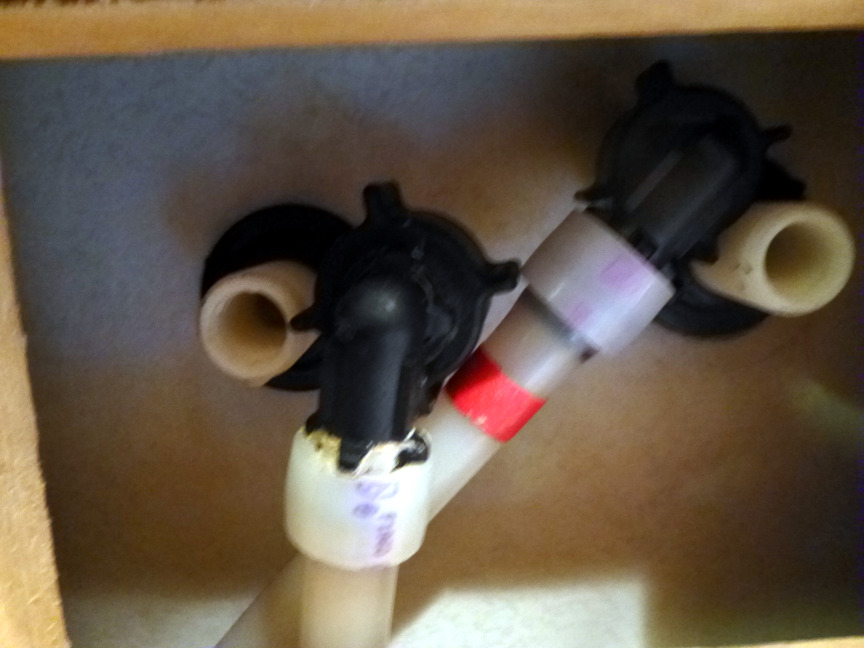
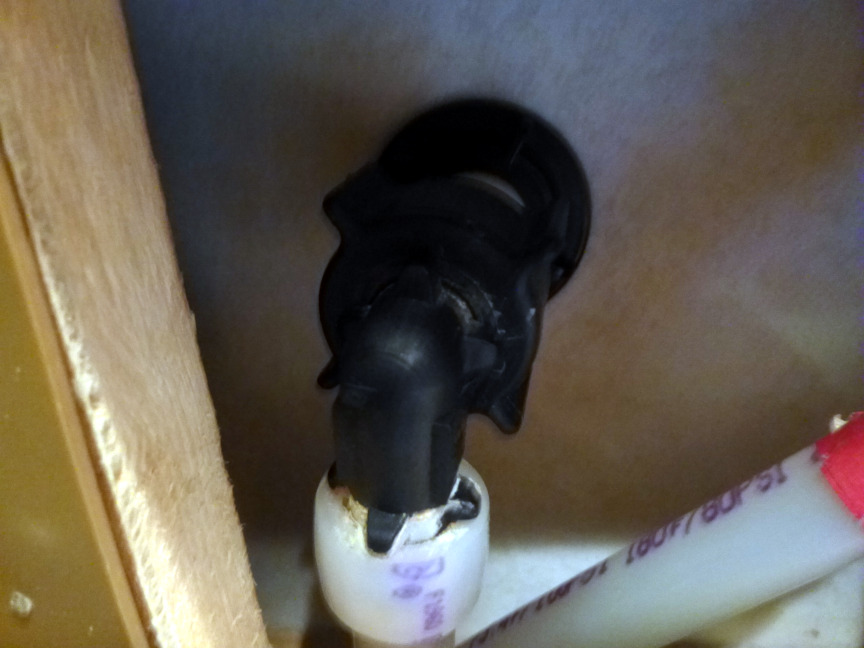
3 – Locate the two water lines. The hot should be on the right side, marked with red. The cold should be on the left side marked with blue or no mark,. If they are not marked, you should mark each line appropriately.
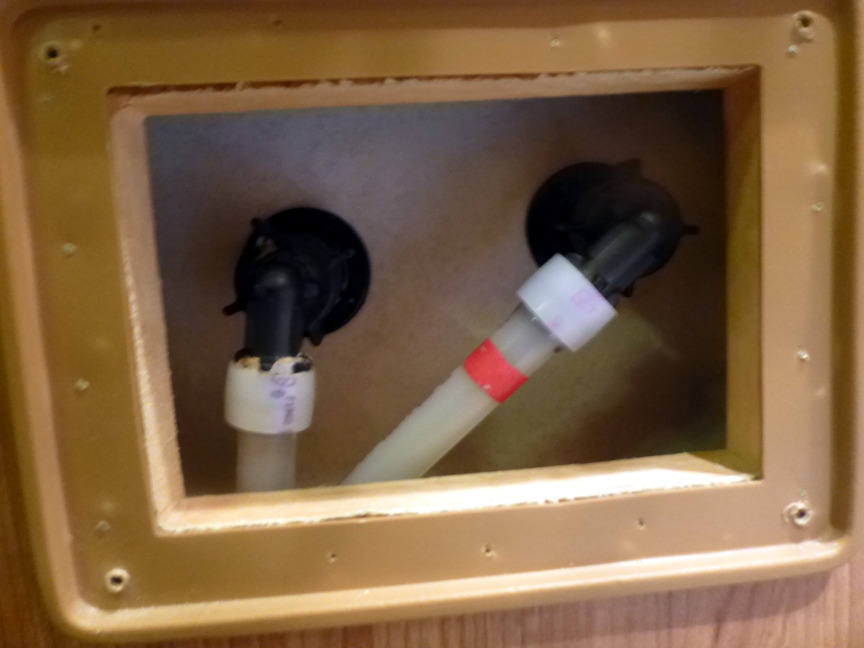
4 – Loosen and disconnect the two water lines from the valve. The connectors are plastic, finger knobs which should not require any tools. DO NOT drop them in the wall space.
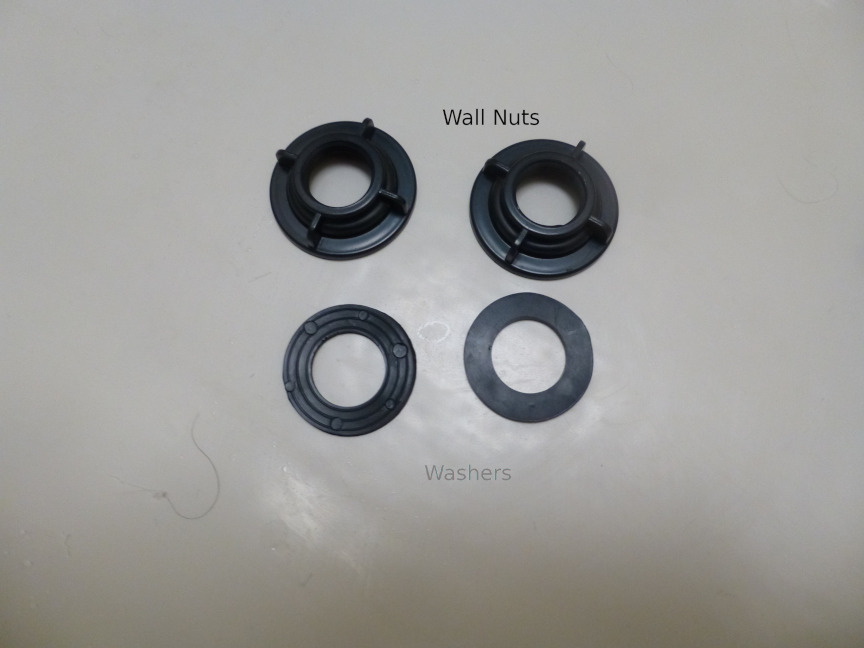
5 – Loosen and remove the shower wall/valve finger knobs and washers. DO NOT drop them in the wall space.
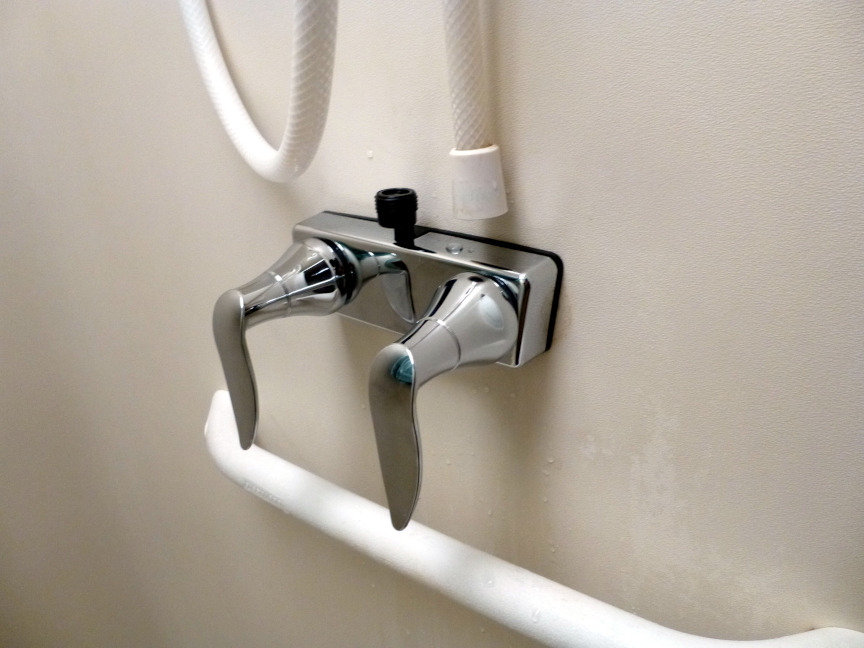
6 – Remove shower valve from the shower wall. It should pull free easily.

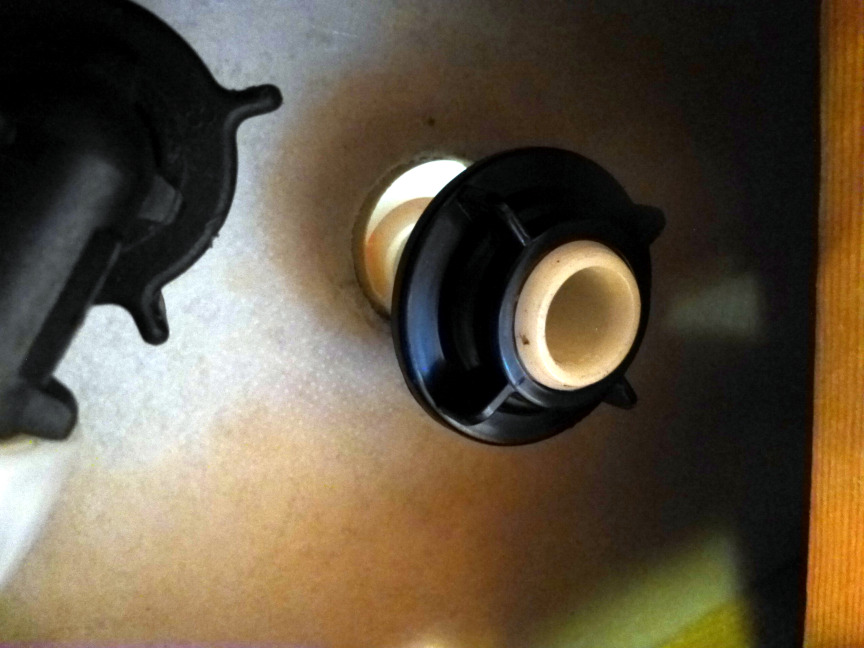
7 – Remove the shower hose/head assembly from the shower valve.
8 – Clean all the surfaces before attaching the new shower valve.
9 – Dry fit the shower valve for correct alignment.
10 – Hold the shower valve in position, then screw on the shower wall/valve finger knobs and washers finger tight.
11 – Position the water lies on the correct fitting then screw on finger tight.
12 – Attach the shower hose, head assembly to the shower valve.
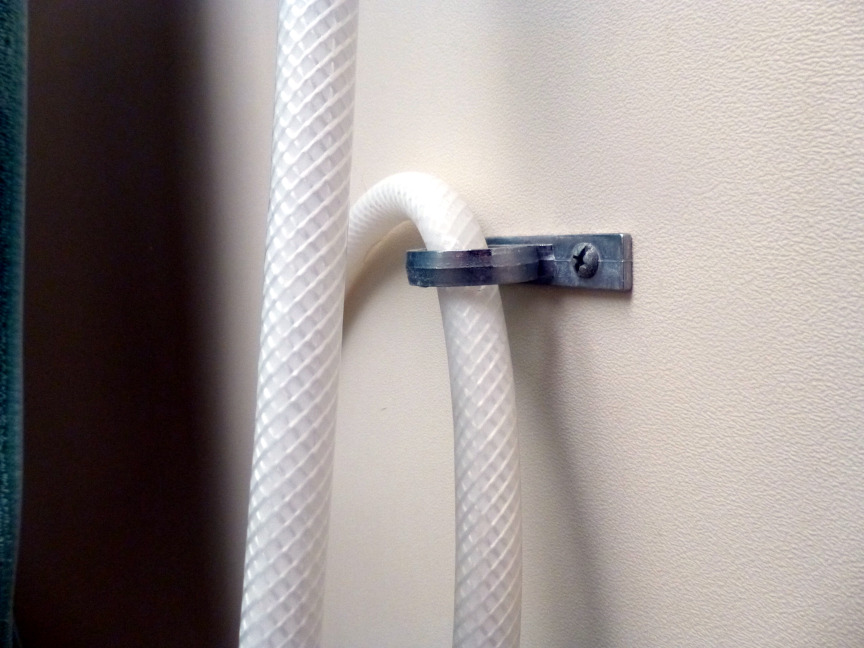
13 – Ensure you use the existing shower hose guide ring or install a new one. This ring keeps the shower head from hitting the shower floor. In addition., it will prevent water back flow into the water system.
14 – Turn OFF the shower valve and sink faucet.
15 – Turn ON the water source.
16 – Turn on the shower valve to check for leaks. Check the shower valve hose connection, the shower head, and both of the water lines in the wall.
17 – Re-install the access panel.
There you have it. A new shower valve and another successful repair job. The saving are substantial because we bought the parts wholesale, without dealer markup, and we did not have to pay exorbitant labor charges.
Note: This process is for a Fleetwood Bounder Motorhome. The repair process should be similar on any RV. You my have to purchase a different replacement valve to match your RV.
Below are the parts used for this repair.
Dura Faucet DF-SA100LH-CP RV Shower Faucet Valve Diverter with Winged Levers (Chrome)