When the toilet in your RV quits working, panic is sure to follow. After checking to see we had a city water connection and trying the 12V electric pump, I determined water was not getting to the toilet. However, water was getting to the flush valve, but not through it. This is a very easy fix and can be used for a leaking valve also. Below are the steps to replace the water/flush valve.
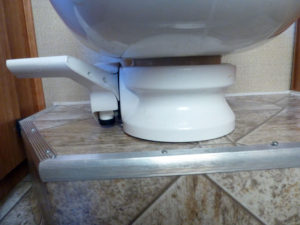
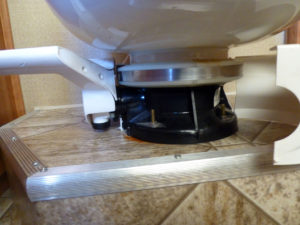
1 – Turn off the city water. Or shut of the 12V water pump. 2 – Remove the plastic shroud around the base of the toilet. In most cases it just snaps into place, so a bit of pressure at the seam pops it apart. One side has a hinged seam, while the seam next to the flush pedal opens. Be careful not to crack or break the shroud.
3 – Remove the plastic housing from the flush pedal. Two screws hold it in place.

4 – Remove the two hoses from the water/flush valve. In my case, one was a hose clamp and the other a hand tightened knob. Place a towel around the bottom of the valve to absorb any residual water.

5 – Remove the two screws holding the valve in place. Note: Steps 4 and 5 can be reversed if desired.
6 – Attach the hoses to the new valve.

7 – Screw the new valve into place with the 2 new screws provided. Do not over tighten. Too much pressure will crack the plastic valve.
8 – Turn the water back on to check for leaks. Tighten the screws or clamp as needed.
9 – Replace the flushing lever. Now is a good time to thoroughly clean the floor and base of the toilet.
10 – Replace the plastic shroud by snapping back into place. Be careful not to crack or break the shroud.
The job is complete.
Note: This process is for a Fleetwood Bounder motor home. The steps and process should be similar on any RV. You my have to purchase a different replacement valve to match your RV toilet.
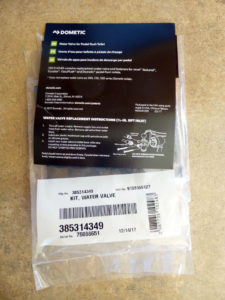
Parts used in the above repair job.
